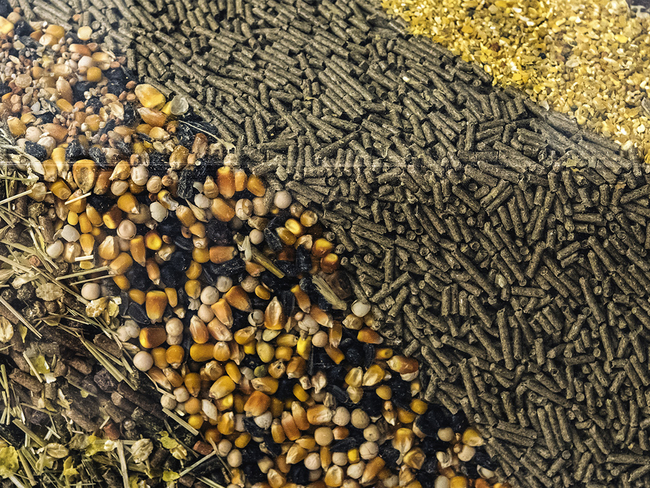
Helping To Feed The World
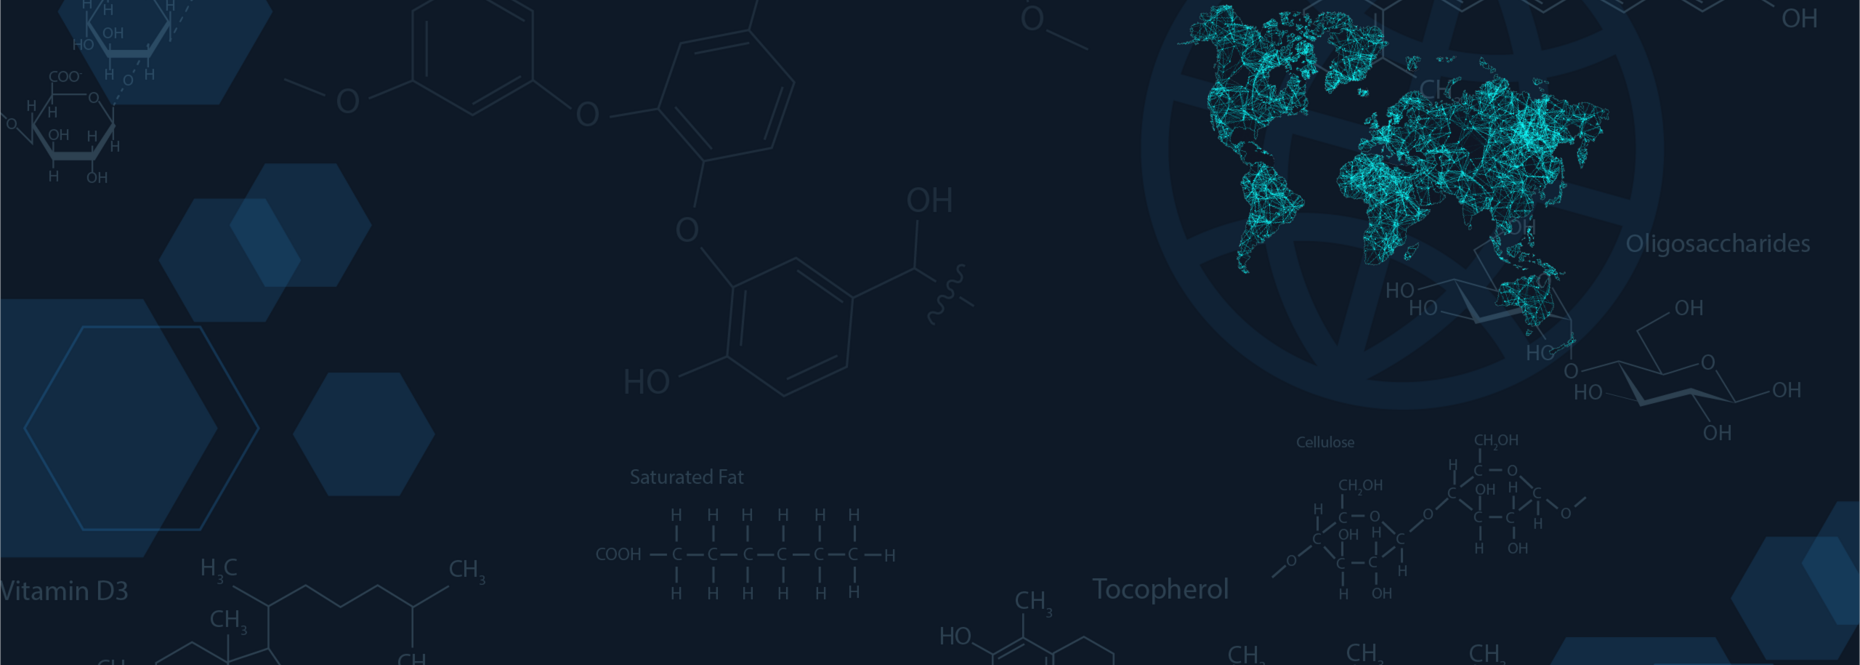
Bringing the power of engineering and chemistry together through simplicity of design and automation
Our Focus
Food and Feed Analysis.
Since 1986, ANKOM Technology has been developing solutions for time-consuming analytical procedures.
An American company, ANKOM has a reputation for excellent products and customer service. Leading the world in fiber and total dietary fiber analysis.
Dietary Fiber Analysis

Crude & Detergent Fiber

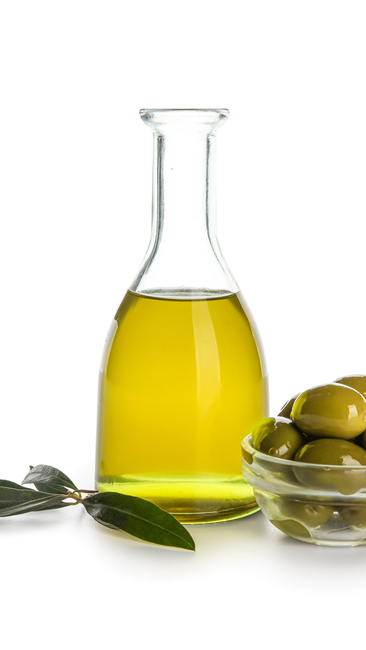
Crude Fat

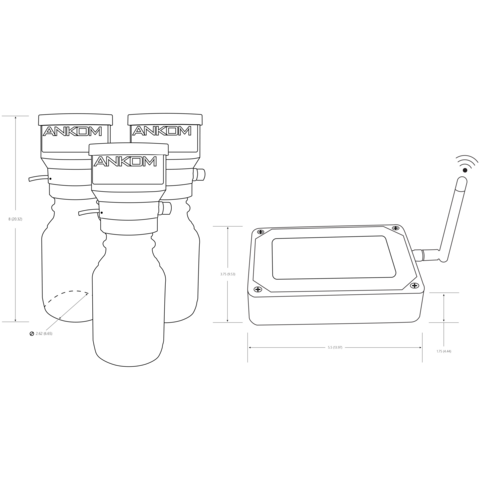
Gas Production Measurement
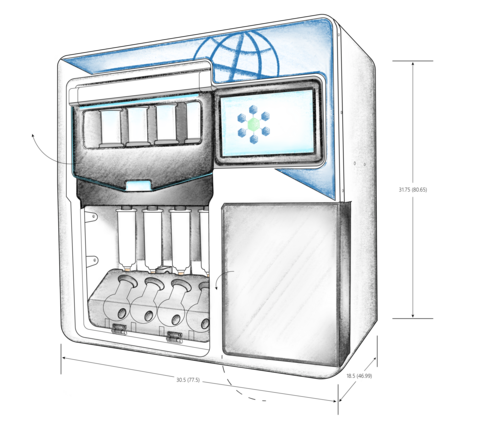
Simplify fat-soluble vitamin, cholesterol, crude and total fat analyses. With common analysis steps of digestion, extraction, and evaporation integrated into one instrument, the ANKOM FLEX provides analytical advantages through the power of automation. The user has the ability to adjust method parameters and create customized methods.
Nutrition from Farm to Table
Automation
We specialize in automating the most tedious
analytical methods.
Our instruments improve assay time, throughput, and lab efficiency without compromising on the accuracy and precision provided by conventional methods.
Recognized as a standard in food and feed science innovation around the globe, ANKOM is known for its production quality and support.

Looking for a way to update or replace an ANKOM instrument? Seeking higher levels of automation?
Consider our Trade-in / Trade-up program for special discounts.
Offer only available in the USA.
Resource Center

Introducing ANKOM’s Resource Center:
a one-stop location for FAQs, Analytical and Service Procedures, Case Studies, CoAs, and more.
Filter Bag Technology
Patented Filter Bag Technology (FBT):
a low-cost, high-volume method
for fiber and fat analyses.
Unlike most conventional methods, FBT allows for batch extraction and increased precision.
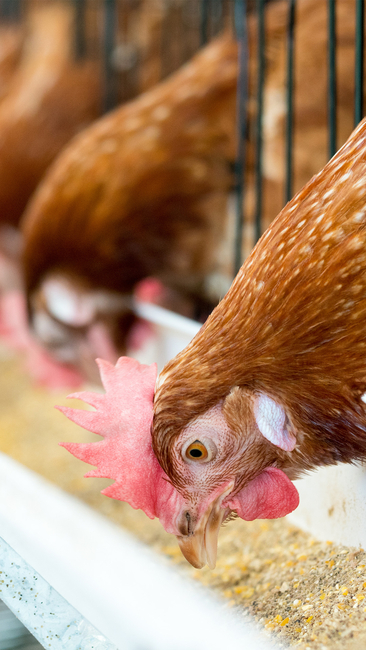
Industries we serve